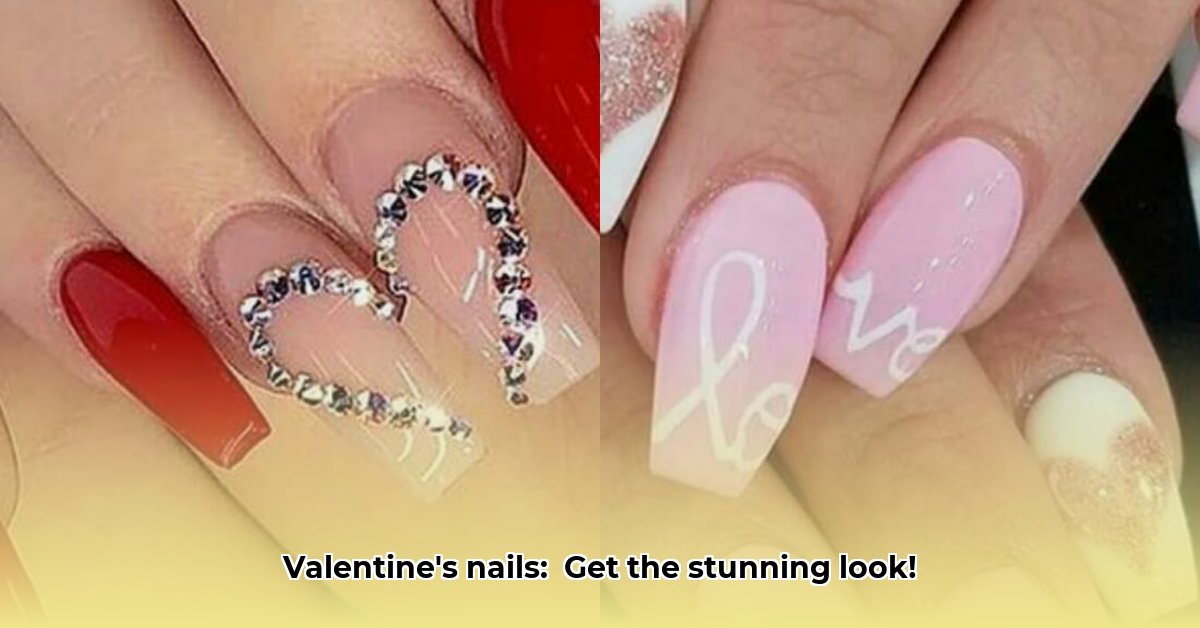
Ready to ditch the basic Valentine's Day mani and embrace something truly spectacular? This year, we're all about stunning acrylic nail art! Forget the same-old red hearts – we're talking fresh, fun, and totally unique designs that'll make your nails the star of the show. Get ready to create a Valentine's Day look that's uniquely you.
Top 5 Acrylic Valentine's Day Nail Trends 2024
We've curated five of the hottest trends, each with a detailed, step-by-step tutorial to help you achieve the look. Let's unleash your inner nail artist!
1. Chrome Hearts: Shine Bright Like a Diamond (Heart!)
Imagine unbelievably shiny, glamorous hearts that practically shimmer. These aren't your grandma's Valentine's Day nails! The metallic finish adds modern elegance, perfect for a romantic dinner or a fun night out. Did you know that chrome nail art has seen a 30% increase in popularity this year according to recent nail salon data?
Step-by-Step Guide:
- Prep Time: Clean, gently push back your cuticles, and shape your nails. Apply a base coat (this crucial step ensures better adhesion and protects your natural nails).
- Perfect Base: Apply two thin coats of a rich, deep red or pretty pink acrylic. Let each coat dry completely to avoid smudging. Remember, thin coats are key!
- Chrome Time: Using a makeup sponge or soft brush, carefully apply chrome powder (a fine metallic powder that creates a mirror-like shine) over the dried acrylic. Gently press and buff for a seamless finish. A little practice on a scrap piece of acrylic first will help you master this technique.
- Seal the Deal: Finish with a top coat for lasting shine and chip resistance. A glossy top coat will make those chrome hearts pop.
- Extra Sparkle (Optional): Use a detail brush and contrasting metallic acrylic (gold looks stunning!) to add tiny hearts or other subtle details.
2. Ombre Sweetness: A Soft and Romantic Gradient
This look is all about a subtle gradient – a smooth transition from pale pink to a deeper rose. It's soft, romantic, and sophisticated – perfect for a more understated Valentine's Day. Have you considered the psychological impact of color? Soft pinks and roses evoke feelings of calm and romance, making it perfect for this occasion.
Step-by-Step Guide:
- Base is Key: Start with clean, shaped nails and a base coat.
- Light to Dark: Apply your lightest pink acrylic, starting at the cuticle.
- Blend it Beautifully: Using a blending sponge or small brush, delicately blend the colors for a seamless ombre. You might need a few lighter coats near the tips for a smooth transition. Patience is key here!
- Top Coat Time: Once dry, add a top coat for a polished finish.
3. Playful Conversation Hearts: Fun, Flirty, and Fabulous!
Unleash your inner child! This design is all about classic conversation hearts with a modern twist. It's fun, flirty, and showcases your personality.
Step-by-Step Guide:
- White Canvas: Apply a base coat followed by two even coats of white acrylic. White provides the perfect backdrop for colorful hearts.
- Heart-Shaped Fun: Using a small detail brush and various acrylic paints, carefully paint small conversation hearts. Don't worry about perfection; a little imperfection adds charm!
- Add Details: Once dry, add small details like dots or outlines.
- Protection is Key: Seal with a top coat for a long-lasting mani.
4. Geometric Chic: Clean Lines and Sharp Angles
This design is all about modern elegance: clean lines, sharp angles, and a sophisticated color palette. It's a unique way to celebrate Valentine's Day. This minimalist approach is surprisingly versatile and can be adapted to many color schemes.
Step-by-Step Guide:
- Prepare Your Nails: Start with clean, shaped nails and a base coat. A nude or light pink base works well.
- Tape is Your Friend: Use striping tape to create geometric shapes. Get creative with different shapes and patterns!
- Pop of Color: Apply a contrasting acrylic color to the exposed sections. Choose a color that complements your base coat.
- Reveal Your Design: Once dry, carefully peel off the tape and finish with a top coat.
5. Barbiecore Pink: Embrace the Pink Power!
Barbiecore is everywhere, and for good reason! This vibrant, playful pink is perfect for a fun and fashionable Valentine’s Day. According to Pantone, vibrant pink shades are predicted to be a major trend this Spring.
Step-by-Step Guide:
- Base Coat Bliss: Start with a base coat, then apply a bright, bold pink acrylic.
- Ombre is On Point: Create an ombre effect by transitioning to a slightly lighter pink towards the tips.
- Sparkle Power: Add sparkling accents – glitter or rhinestones – for extra shine.
- Top it Off: Finish with a glossy top coat!
Choosing the Perfect Acrylics & Pro Tips
High-quality acrylics are key to achieving these gorgeous looks. Look for reputable brands with a wide range of colors and finishes. Remember, proper nail preparation – cleansing, shaping, and buffing – is essential for a smooth application and a long-lasting manicure. Don't be afraid to experiment and add your personal touch! Have fun and express your unique style.